Navigation
for Magento 2
Navigation extension is a simple extension to help shop owners improve navigation menu.
Contact DeveloperNavigation Menu is an extension intended for shop owners that will help you improve navigation menu. The module allows you to create a hierarchical menu, use magento standard categories as links. As a link, you can also choose a product, a cms page, or specify a link manually.
The Navigation Menu module provides a lot of features. You can set and customize the icon for your menu item or upload your own picture. Using default wysiwyg editor you can add your custom content in the sub menu. The extension allows you to specify a feature product which will be display on your sub menu.
The Navigation Menu module provides a menu builder. You can quickly generate your menu using default magento categories or cms pages.
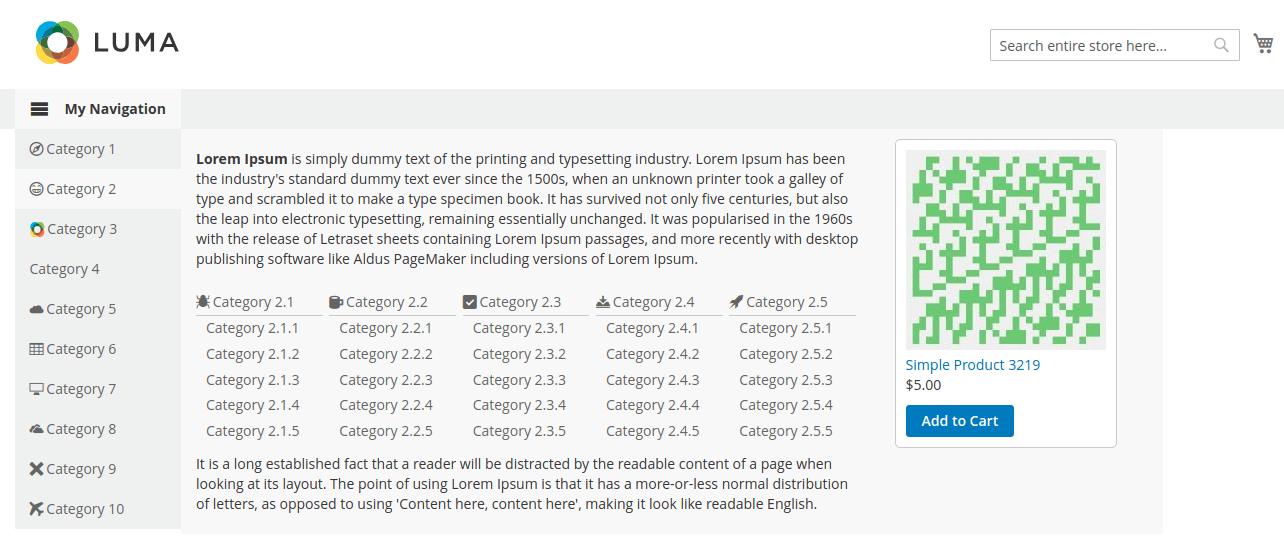
You can use the Navigation Menu extension as a widget in any place of your website. It allows you to choose a template that will be displayed on the frontend.
Features:
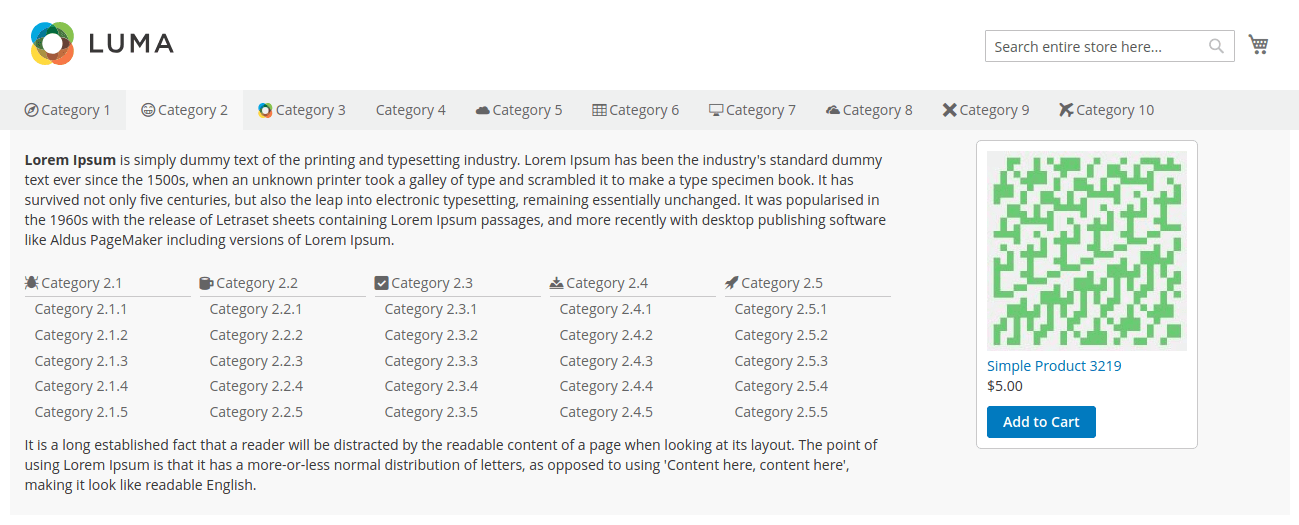
- use navigation as a top menu and customize a top menu template.
- use category / product / cms page as a link of your item.
- setup top menu navigation and top menu template in design configuration.
- allows to setup icon or image for your manu item.
- use wysiwyg editor to add custom content to your sub menu.
- allows you to specify a feature product.
- quickly generate items based on categories or cms pages.
- use navigation as a widget.
- Backup your web directory and store database.
- Download Navigation installation package.
- Upload contents of the Navigation installation package to your store root directory.
-
In SSH console of your server navigate to your store root folder:
cd /path/to/store/root/folder -
Enable Navigation extension:
php bin/magento module:enable MageKey_Navigation -c -
Upgrade magento system to apply Navigation extension:
php -f bin/magento setup:upgrade -
Deploy static view files:
php -f bin/magento setup:static-content:deploy - Flush store cache. Log out from the backend and log in again.
Table of contents:
Overview
Navigation Menu is an extension intended for shop owners that will help you improve navigation menu.
Manage Navigation
Navigate to Content > Elements > Navigation section.
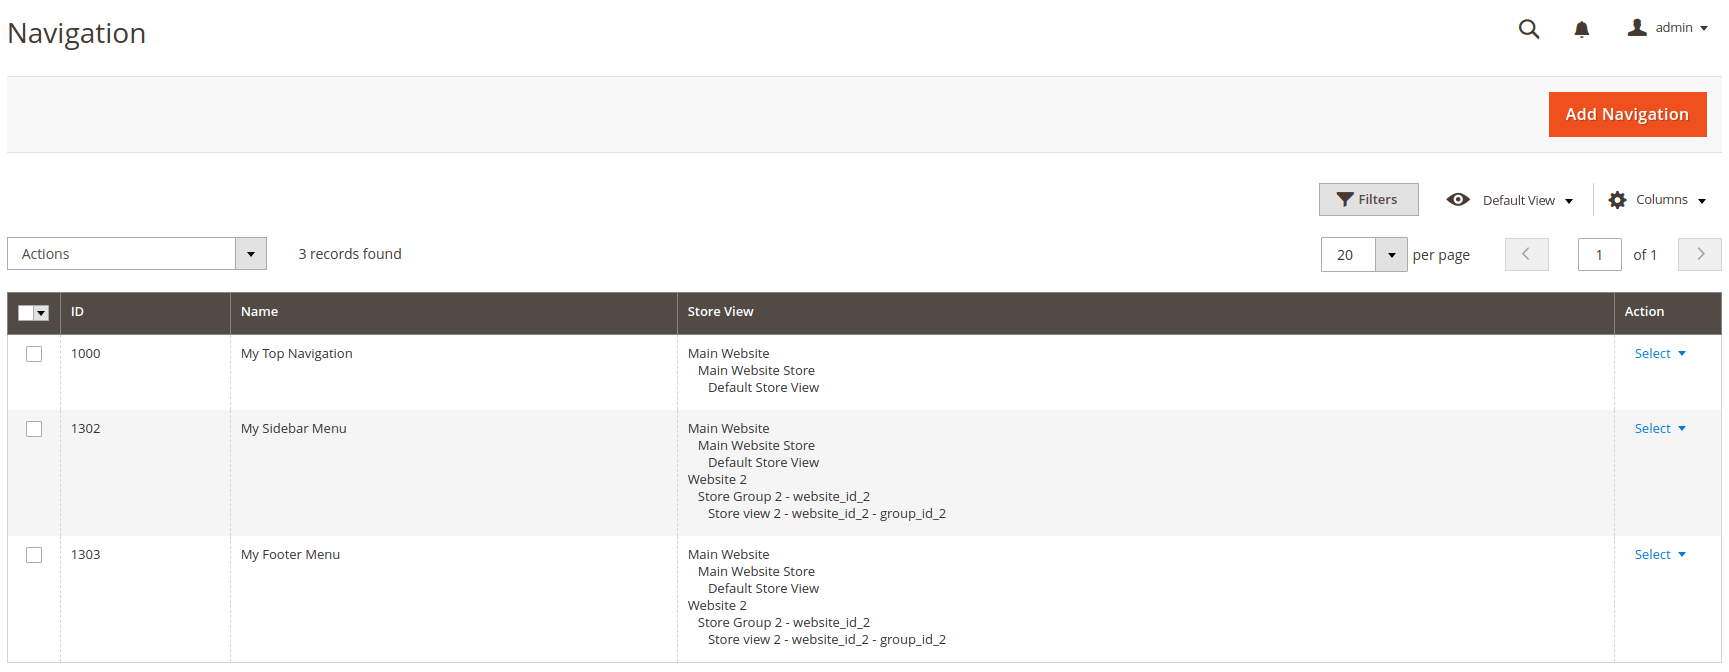
Create Navigation
To create a new navigation click Add Navigation button.
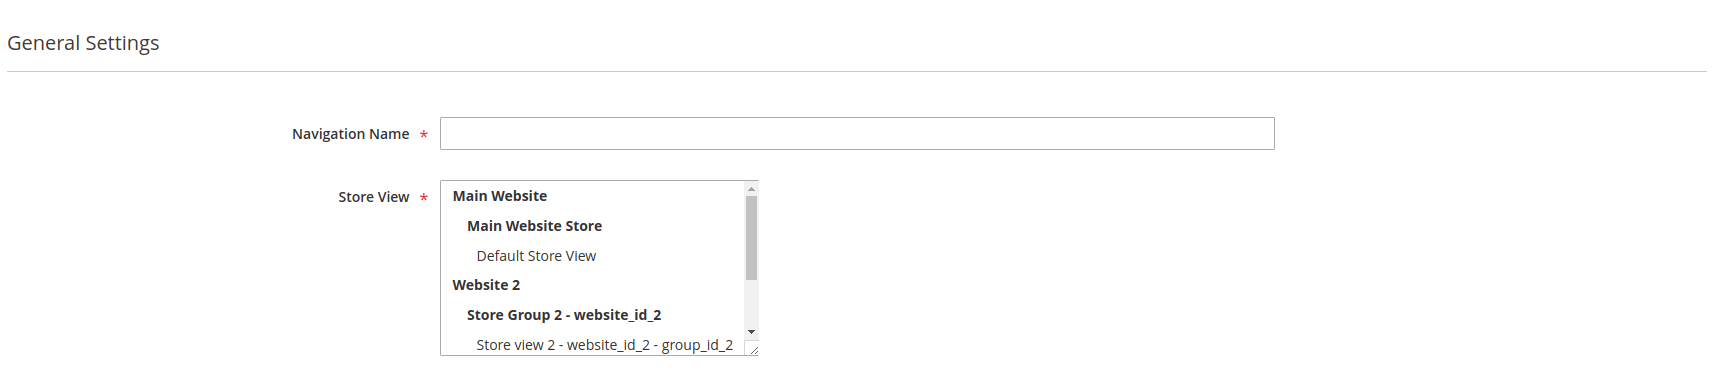
The New Navigation screen is represented with one setting block: General Settings.
General Settings
- Navigation Name - defines the name of the navigation.
- Store View - defines stores your navigation will be applied.
Click Create button to create a new navigation and move to manage items section.
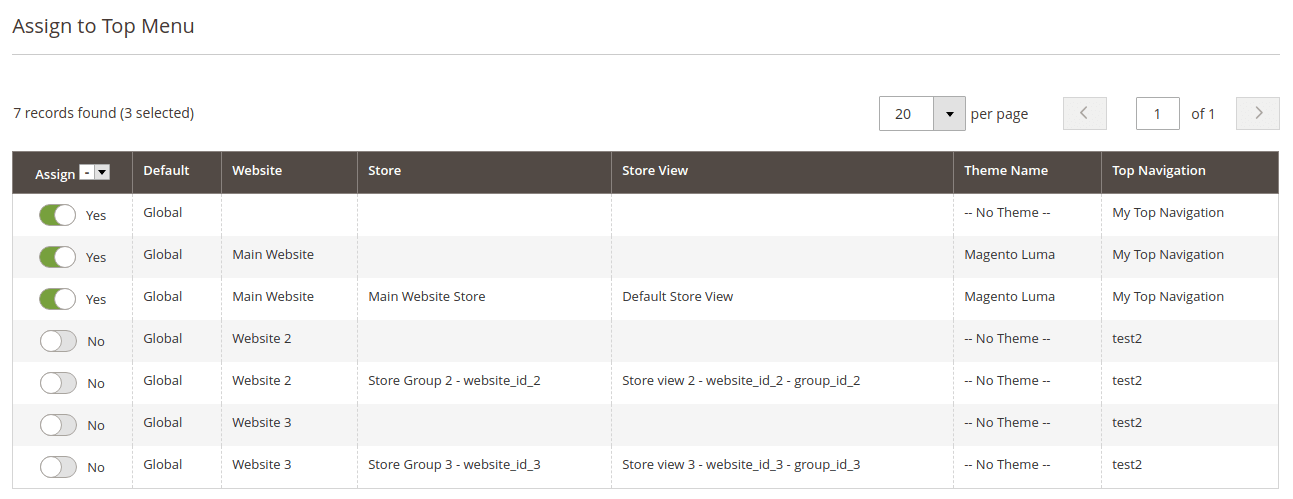
Assign to Top Menu
This section allows us to assign a current navigation to the top menu.
Manage Items
Navigate to Manage Items section.
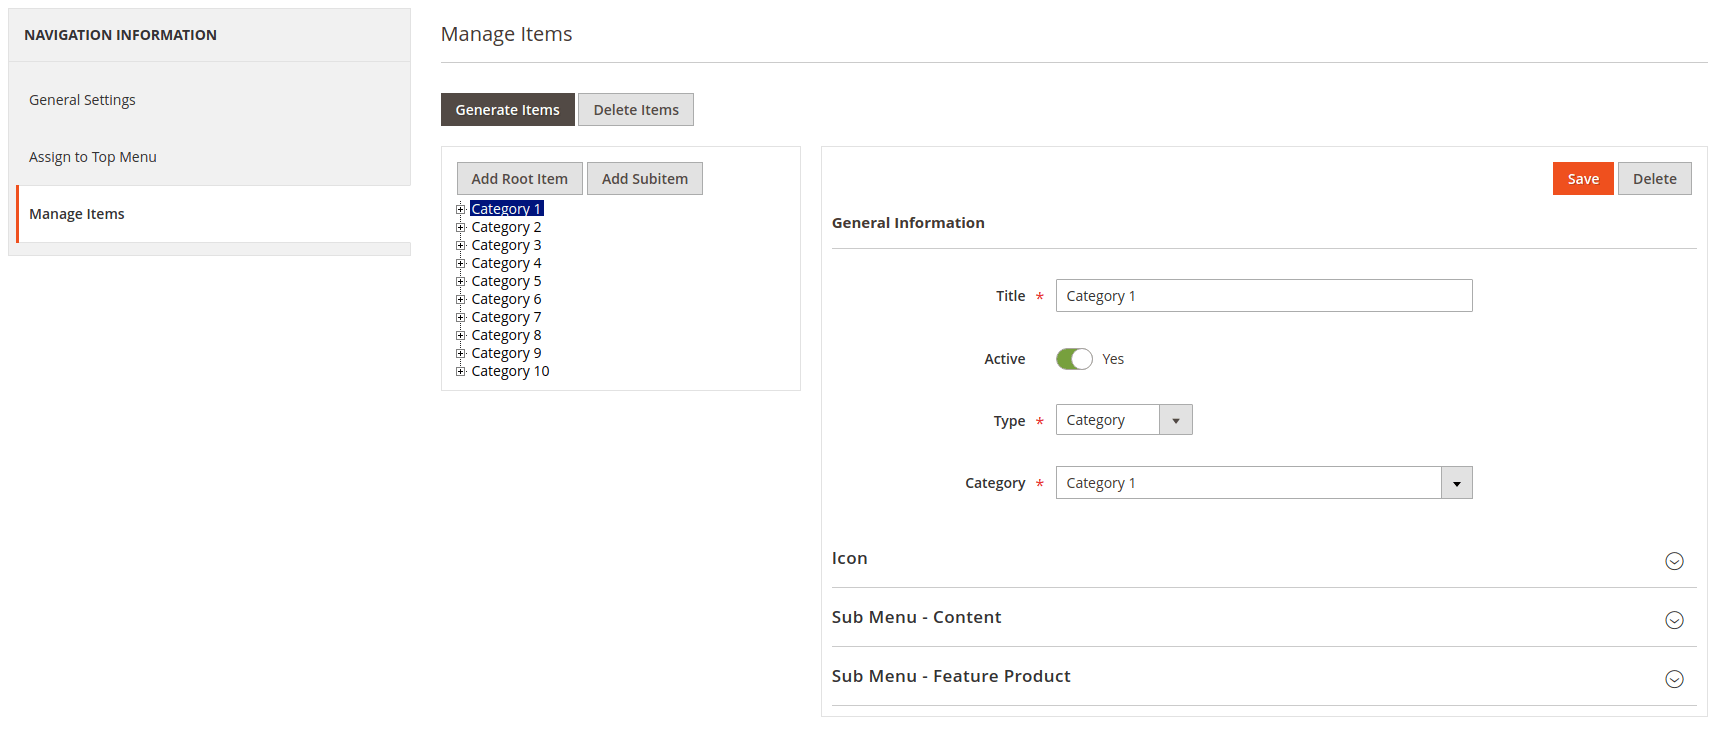
The Manage Items screen is represented with two columns: Tree on the left side and Item Form on the right side.
Tree column.
- Generate Items - generate new menu items based on default data.
- Delete Items - delete all items for current navigation.
- Add Root Item - add root item to menu.
- Add Subitem - add subitem to the current selected item.
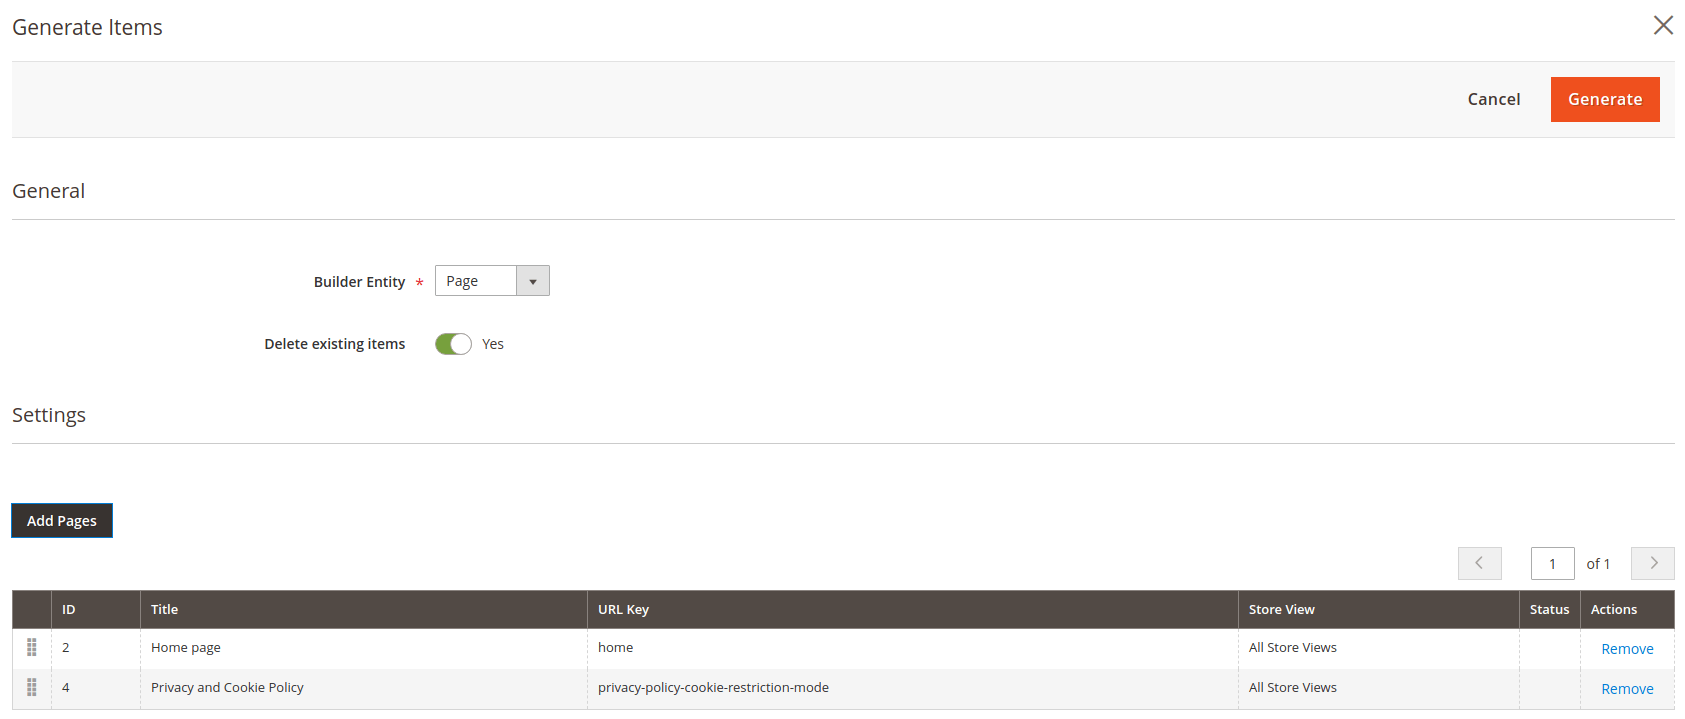
Generate Items
Click Generate Items button to generate a new items based on magento data.
General
- Builder Entity - entity source data. Category and Page are available.
- Delete existing items - delete all items of the current navigation before generate new items.
Select entity as Category to generate items based on parent category.
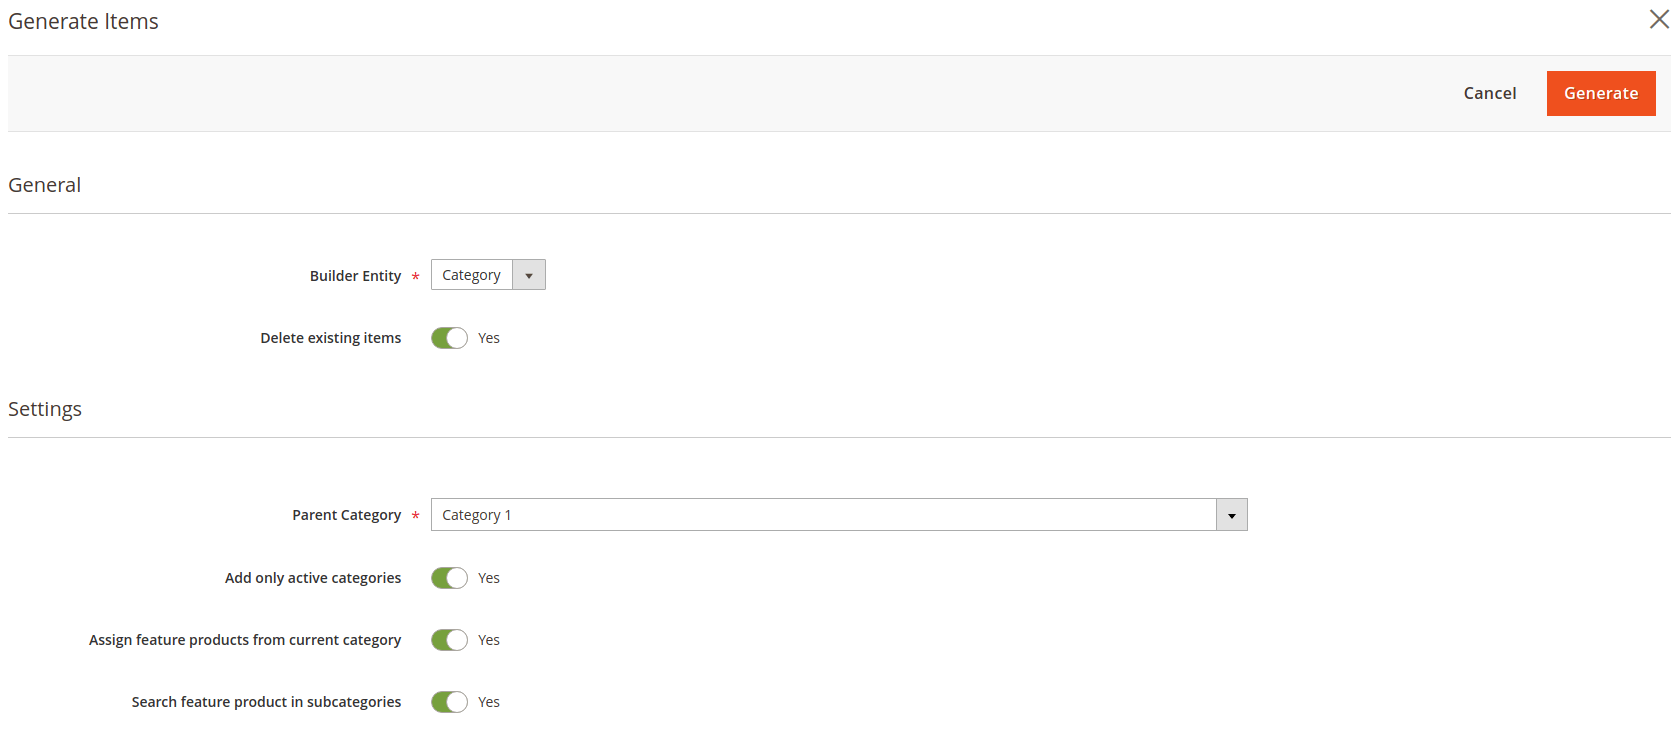
Select entity as Page to generate items based on cms pages.
Update Item
The Item Form display on the right side when your menu item is selected.
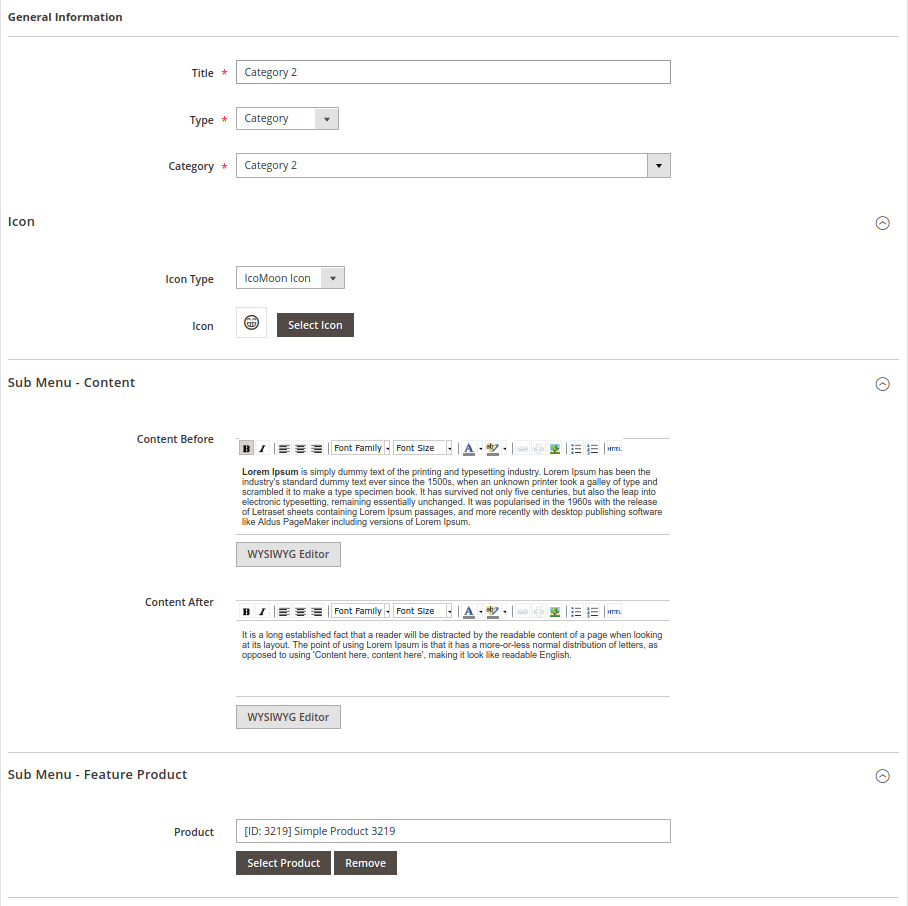
General Information
- Title - defines item title.
- Active - enable/disable item.
- Type - difines item type. Category, Product, Page ot Custom Url ara available.
Icon
The Icon section provides two types: IcoMoon and Image.
Image
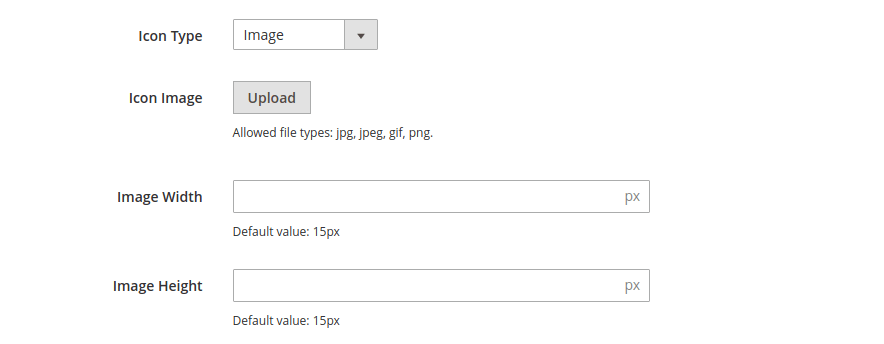
- Icon Image - upload image for your item icon.
- Image Width - defines item icon image width.
- Image Height - defines item icon image height.
IcoMoon

- Icon - defines icon from IcoMoon list.
Sub Menu - Content
The content section provides two fields: Content Before and Content After.
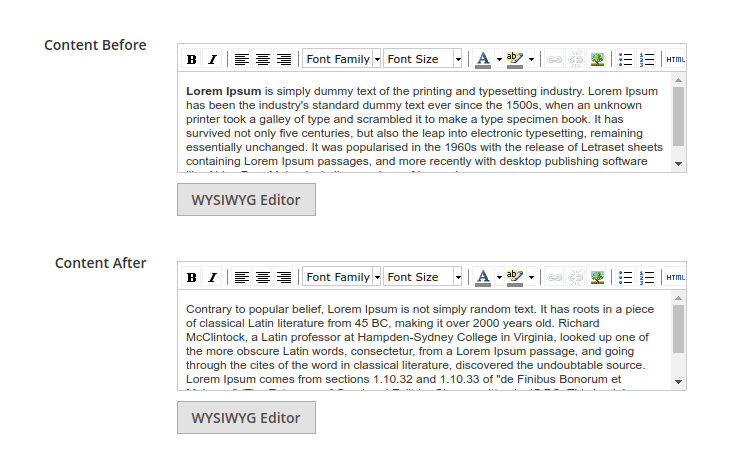
- Content Before - defines content before items in submenu.
- Content After - defines content after items in submenu.
Sub Menu - Feature Product
The feature product section allows to assign a catalog product to your sub menu.

- Product - defines feature product.
Setup top menu navigation
To setup top menu navigate to Content > Design > Configuration. Select a theme you want to change.
Move to Navigation section and choose a Top Menu.

- Top Menu - defines navigation for top menu.
- Top Menu Title - defines title of the navigation.
- Top Menu Template - defines template of the navigation.
Create navigation widget
To create a new navigation widget switch to Content > Elements > Widgets and click Add Widget button.
Select Type field as "Navigation" and choose a theme.

Click Continue button to create a new widget.
Update Storefront Properties tab and setup layout. Move to Widget Options tab and choose navigation menu.
