
Interfax Web Service
for Magento 2
Interfax Web Service is an extension for faxing messages using Interfax service provider.
Go to MarketplaceInterfax Web Service is an extension for faxing messages. It uses Interfax services provider to create text documents and transmit them to your fax machine. To send a fax message to a given fax number, the extension uses standard Magento email templates. The text of your fax document will be identical to your email template text.
Interfax Web Service extension has got 3 trigger events for sending a fax message:
- faxing a message when a standard Magento Contact form is completed
- faxing a message when a new customer is registered in your shop
- faxing a message when a new order is created.
The first step in using Interfax Web Service is setting up an Interfax service provider by registering at www.interfax.net. The email and password obtained during registration will be used for authorization at the service provider website when sending a fax message. An administrator will enter your email and password into the extension settings in the backend panel of your website. You will also need to specify the fax number all the messages shall be sent to.
The administrator may enable or disable sending faxes in response to certain events. For example, you may opt to use the extension to get fax messages only when new orders are created in your shop.
Feature highlights
- using Interfax service provider for sending fax messages
- using standard email templates to create a fax document
- faxing a message when a standard Contact form is completed
- faxing a message when a new customer is registered
- faxing a message when a new order is created.
- Backup your web directory and store database.
- Download Interfax Web Service installation package.
- Upload contents of the Interfax Web Service installation package to your store root directory.
-
In SSH console of your server navigate to your store root folder:
cd /path/to/store/root/folder -
Enable Interfax Web Service extension:
php bin/magento module:enable MageKey_FaxEvents -c -
Upgrade magento system to apply Interfax Web Service extension:
php -f bin/magento setup:upgrade -
Deploy static view files:
php -f bin/magento setup:static-content:deploy - Flush store cache. Log out from the backend and log in again.
Table of contents:
Overview
Interfax Web Service is an extension for faxing messages. It uses Interfax services provider to create text documents and transmit them to your fax machine. To send a fax message to a given fax number, the extension uses standard Magento email templates. The text of your fax document will be identical to your email template text.
Interfax Web Service extension has got 3 trigger events for sending a fax message:
- faxing a message when a standard Magento Contact form is completed
- faxing a message when a new customer is registered in your shop
- faxing a message when a new order is created.
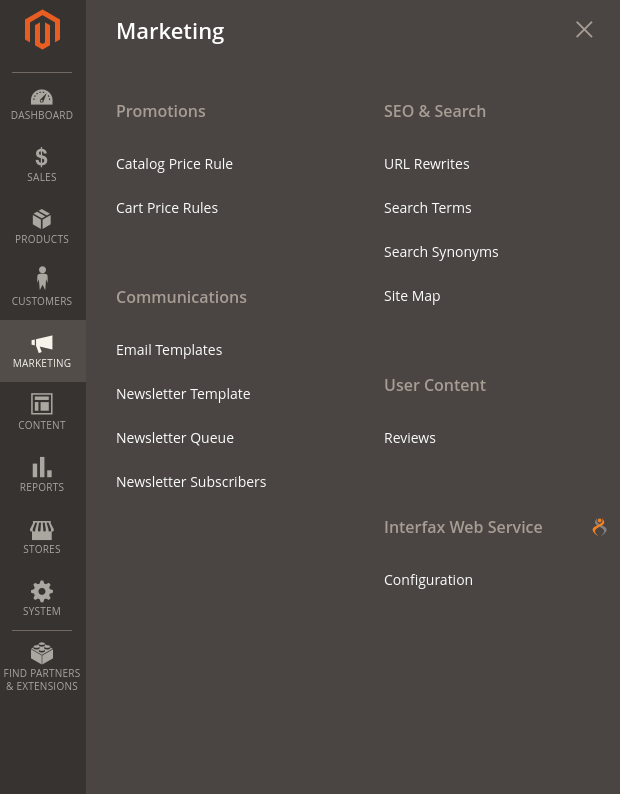
Interfax Web Service introduces a configuration section under Marketing > Interfax Web Service menu. The extension comes with 1 section: Configuration
Configuration
To set up the Interfax Web Service extension navigate to Marketing > Interfax Web Service > Configuration section.
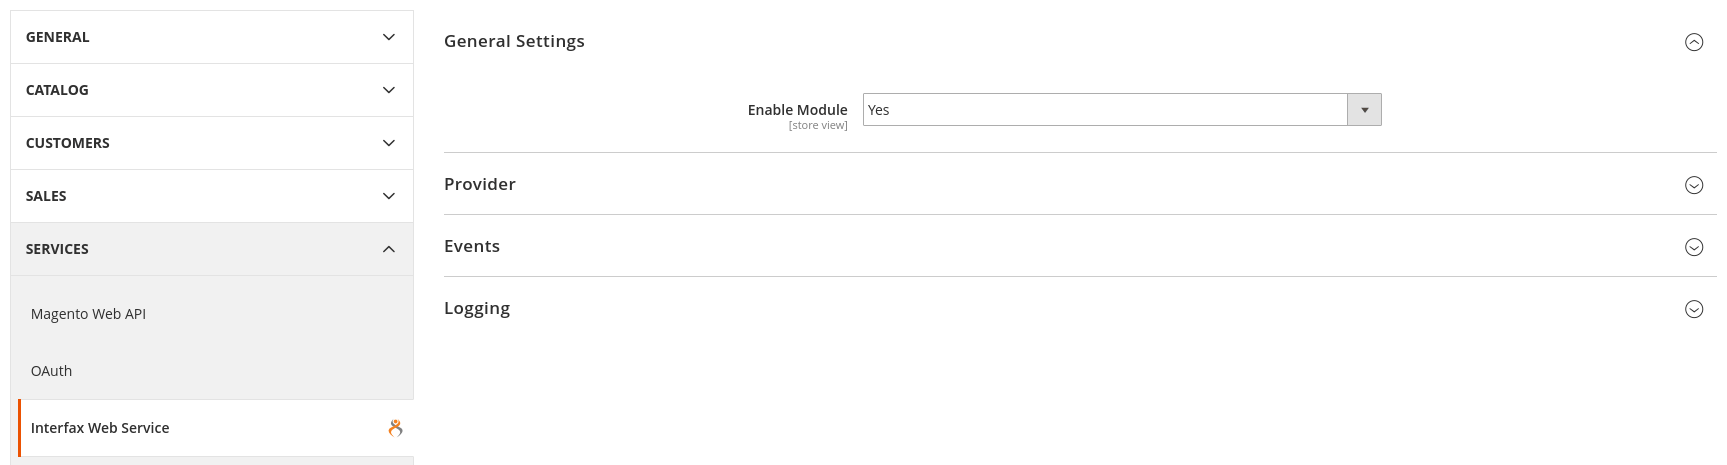
The Configuration screen is represented with four settings blocks: General Settings, Provider, Events, Logging.
General Settings
- Enable Module - allows enabling/disabling Interfax Web Service extension.

Provider
Interfax Web Service uses Interfax services provider to create text documents and transmit them to your fax machine.
- Provider - allows to choose fax provider. Available only Interfax option.
- Interfax Endpoint - defines Interfax endpoint service url.
- Interfax Username - defines Interfax username.
- Interfax Password - defines Interfax password.
- Fax Number - defines fax number.

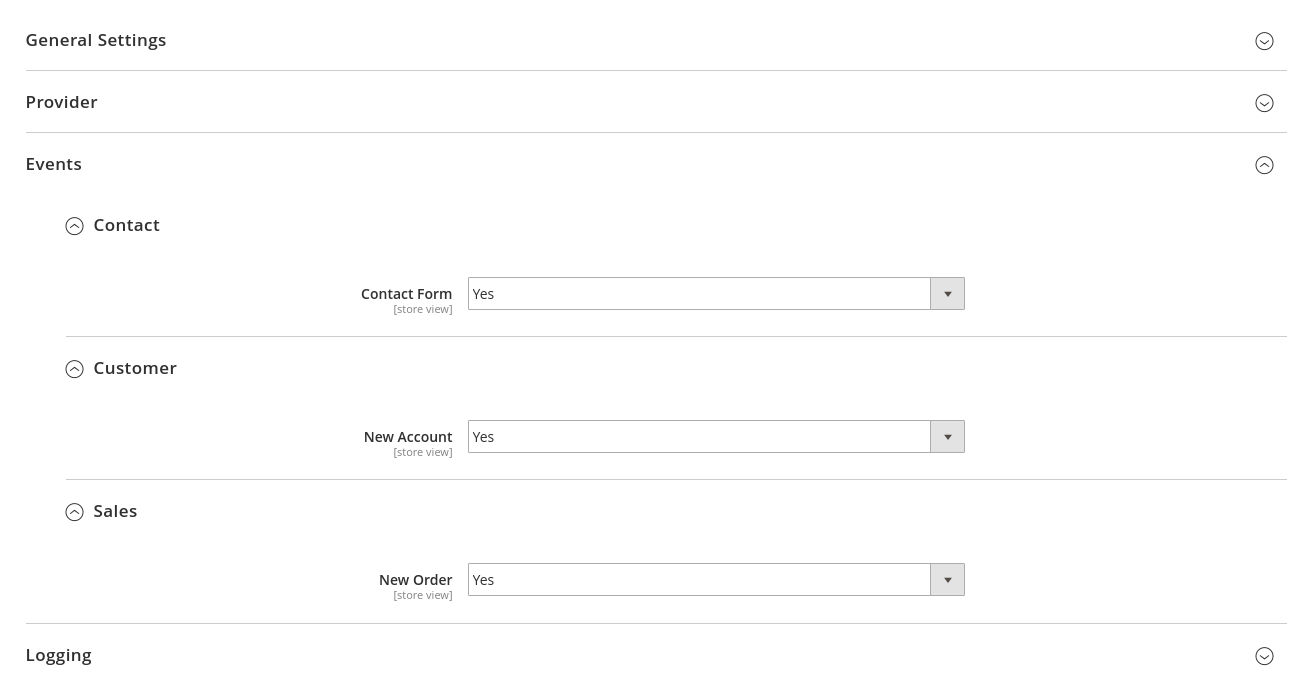
Events
Interfax Web Service extension has got 3 trigger events for sending a fax message:
- Contact > Contact Form - faxing a message when a standard Magento Contact form is completed
- Customer > New Account - faxing a message when a new customer is registered in your shop
- Sales > New Order - faxing a message when a new order is created.
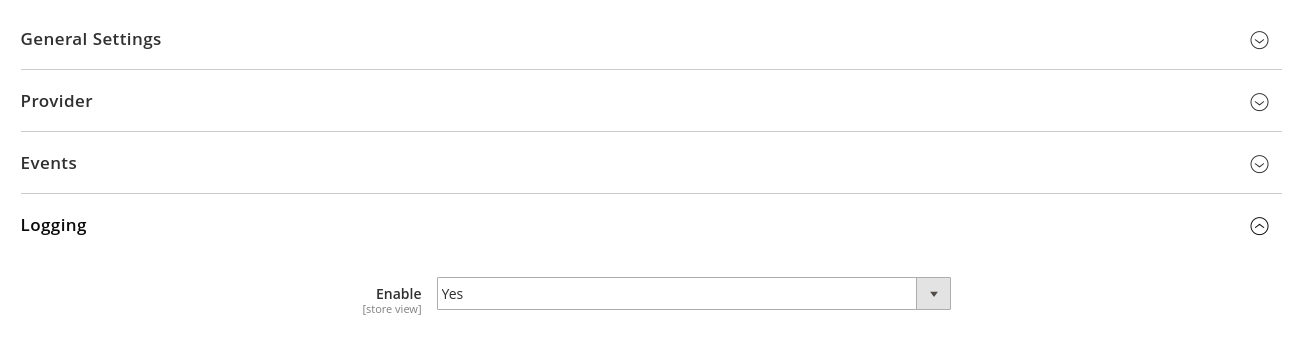
Logging
- Enable - allows enabling/disabling fax logging.
How to use Events
This section describe how to faxing your messages to your fax machine.
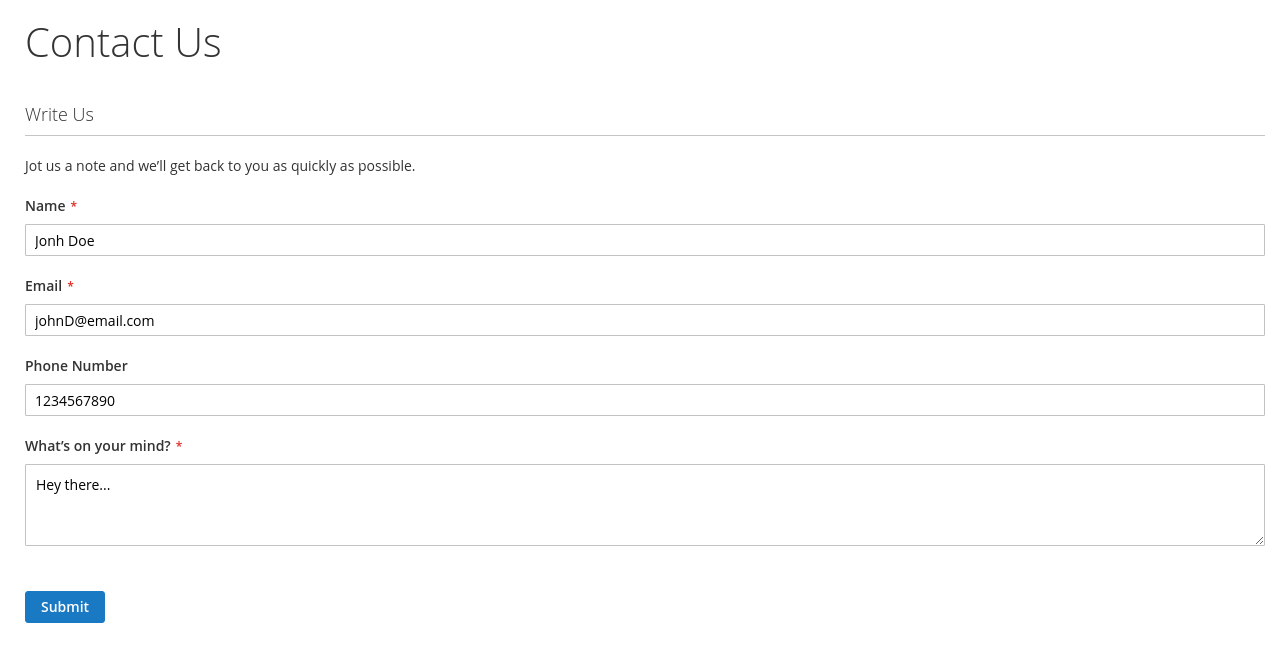
Contact > Contact Form
Navigate to Magento contact form. By default Magento contact form located under www.yoursite.url/contact
Fill the form and click Submit button
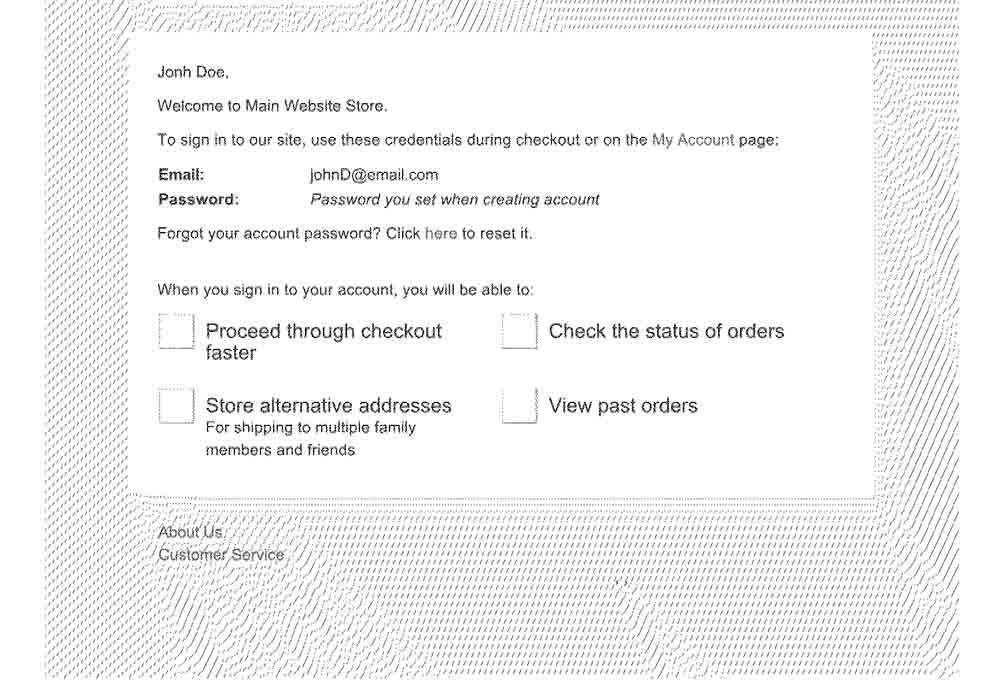
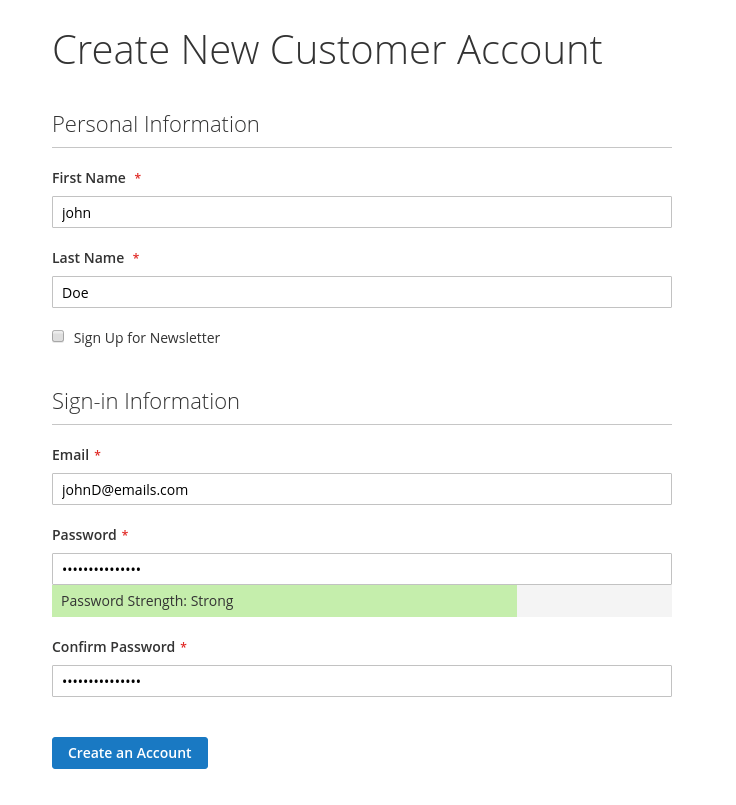
Customer > New Account
Navigate to Create Account section. By default this page located under www.yoursite.url/customer/account/create
Fill the form and click Create an Account button
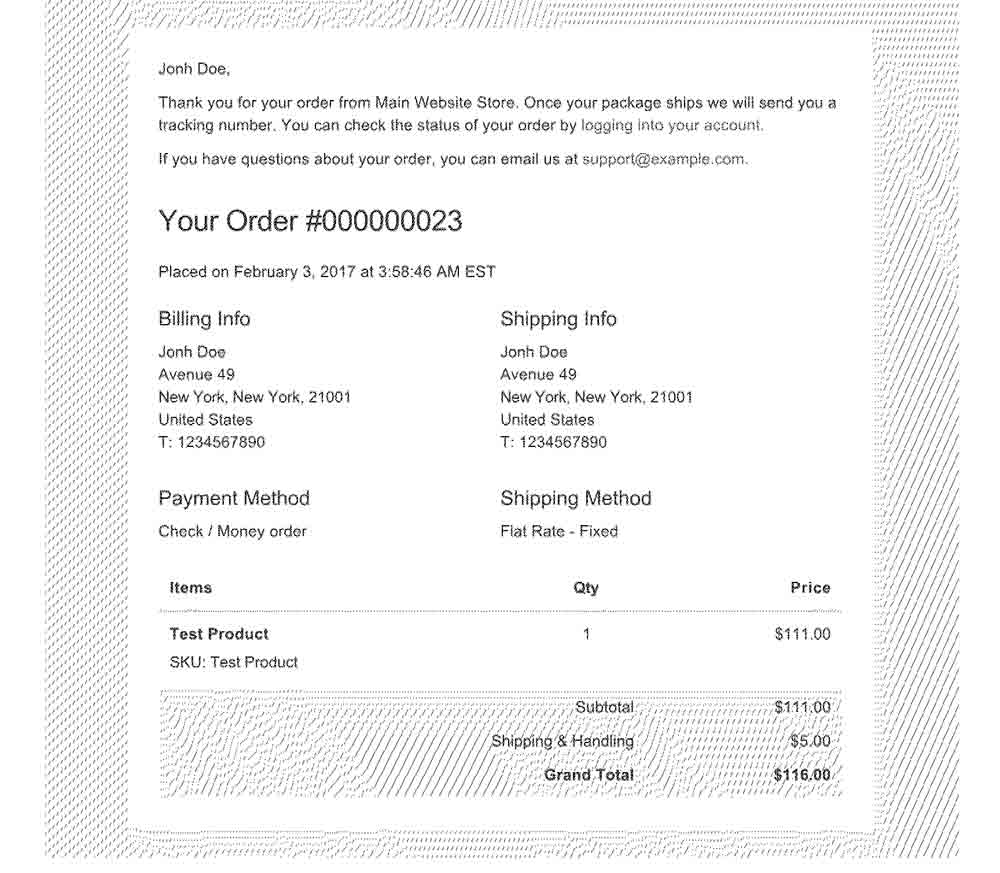
Sales > New Order
This event triggered when your customer place new order in your store.